.png?width=319&height=267&name=gtmetrix_2023%20(1).png)
Where menus are created in the HubSpot CMS
The menus in the HubSpot CMS are separated from the page editor, so in the editor, either in the headers or footers, you will only be able to choose the previously created menus.
So the first thing is to create all the menus that we will need, although at the beginning we may not have the pages, this menu can be edited since you have created all the pages, this helps you to visually complete the header of your page.
Steps to create a menu
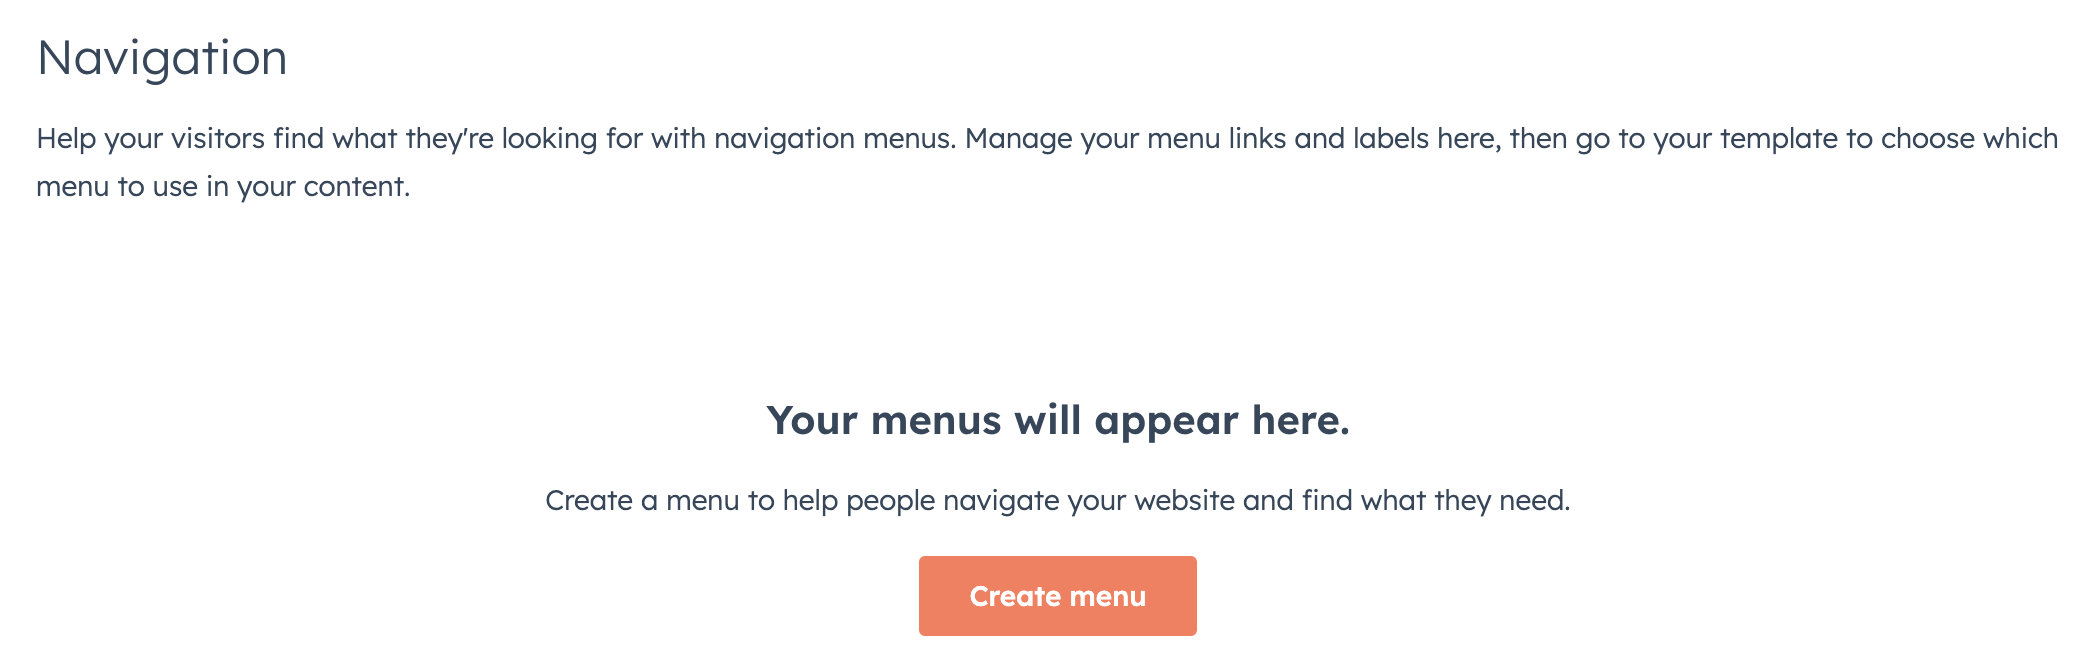
Step 1: Go to HubSpot Navigation
In that section you will see the menus.
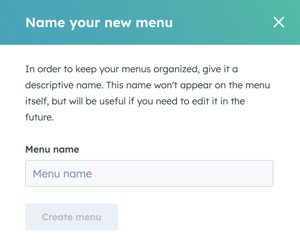
Step 2: Click on Create menu, place the internal name to identify it, example: Main menu, footer menu, etc.
Step 3: Now add all the necessary items that the menu require.
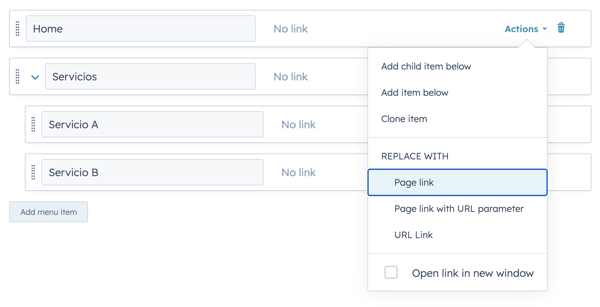
If the page does not exist yet, simply click on Actions and select item without link. This can be changed later.
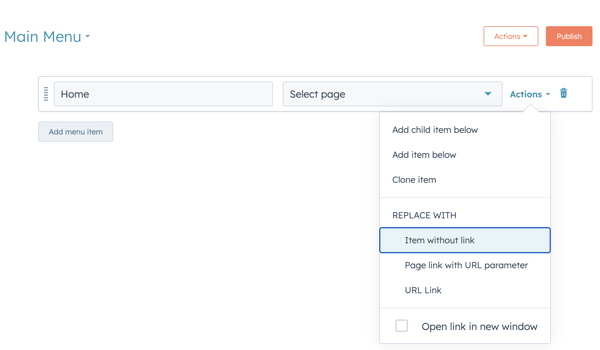
To add more elements, click on Add menu item and then choose if it goes below or if you want to add child elements to it.

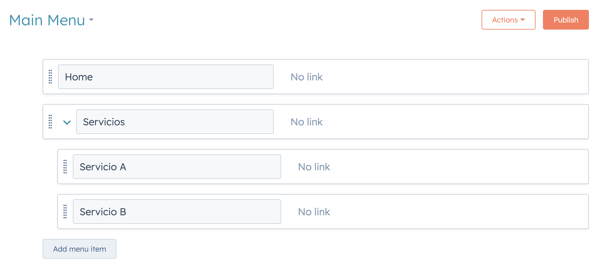
The menu items say No link because the pages are not there yet and it is the way we can view the menu, otherwise if we choose draft pages or empty links the menu item will not be displayed.
When you already have the pages, you return and in actions you change the type to Page or link as the case may be.
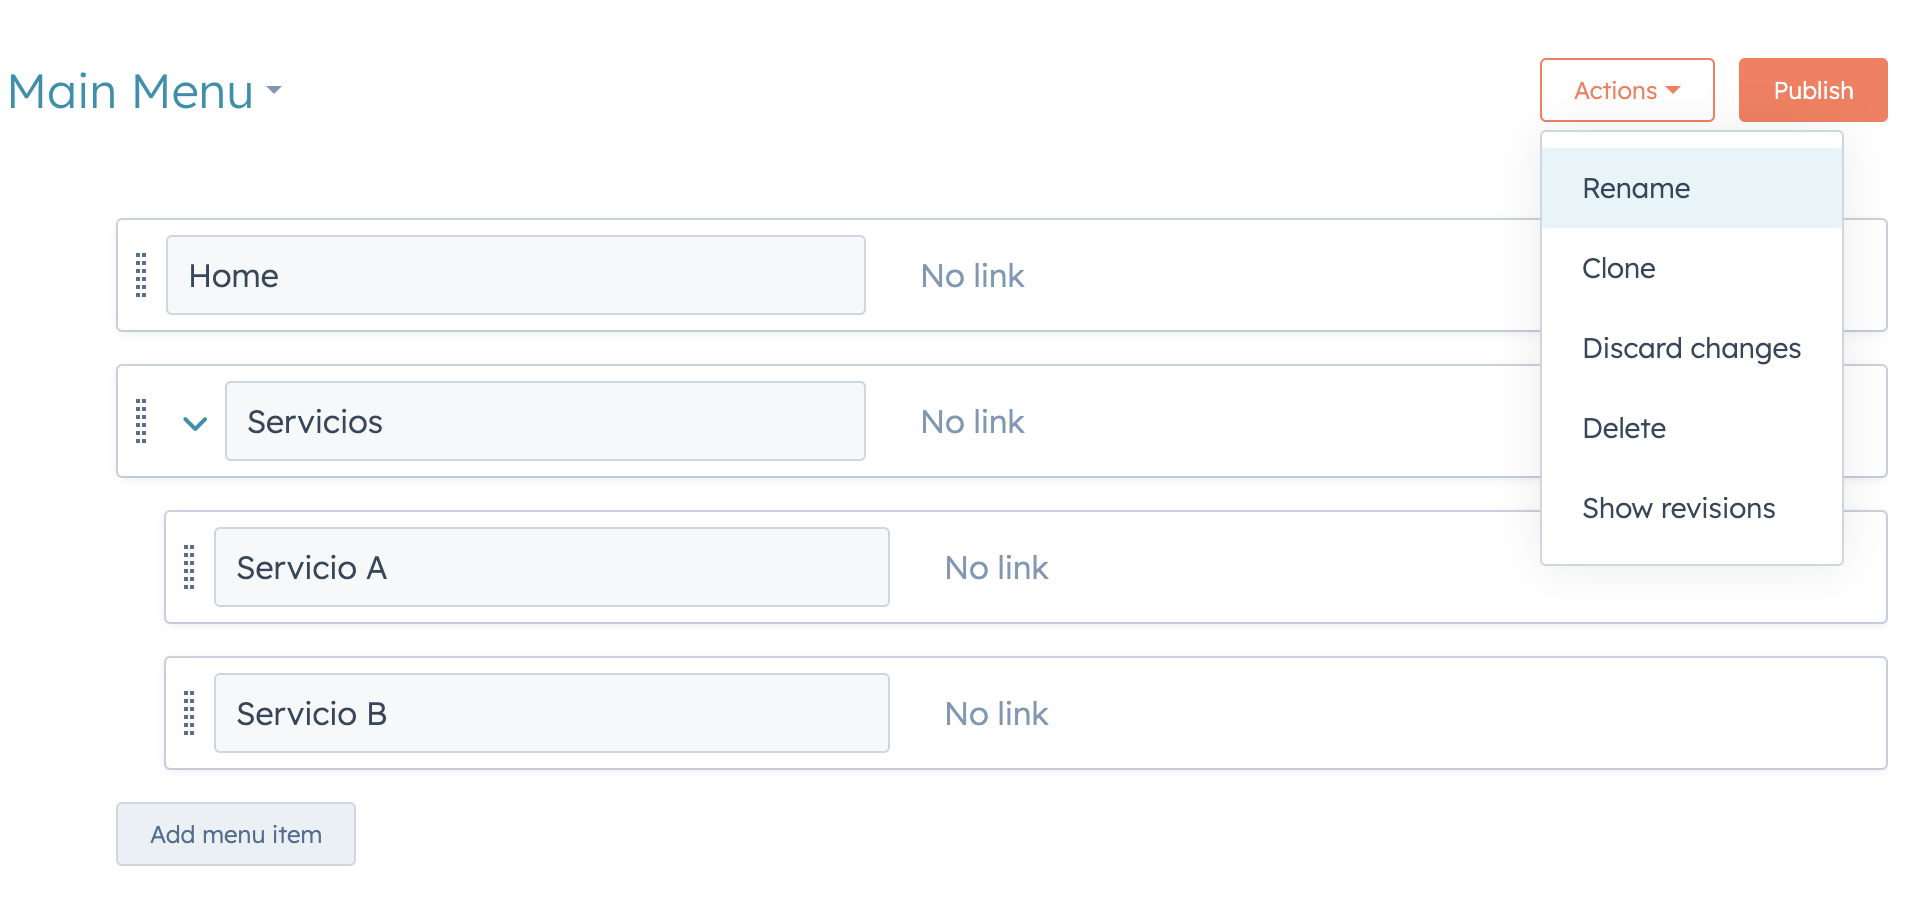
Step 4: Click Publish, each time you apply settings you must click Publish.
On the left side of the publish button you have the Actions button to rename the internal name of the menu, clone it, discard the recent changes you made, delete it or review the history of published settings.
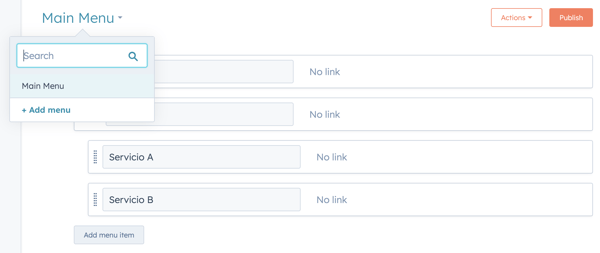
Step 5: Add the other menus if necessary to the footer by clicking on the name of the first one and adding a new menu.
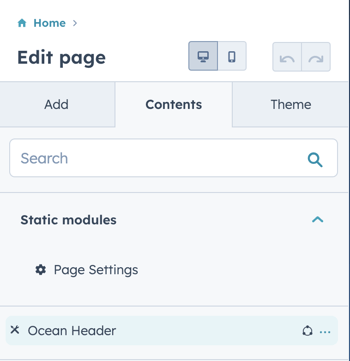
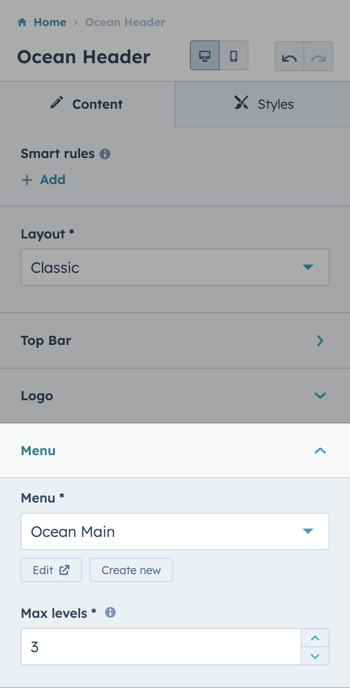
Step 6: With the menus created, you can add them to the header and footer very easily.
Select menu in global modules